GLA-Class Wireless Charging: Essential Power Upgrade
This guide will show you how to retrofit a wireless charging pad into your Mercedes-Benz GLA-Class, ditching the tangled cables for convenient, cable-free charging. We’ll cover compatibility, installation, and how to enjoy this essential power upgrade, making your charging woes a thing of the past.
Tired of fumbling for charging cables every time you hop into your GLA-Class? For many of us, a dead phone battery is a constant source of anxiety, especially on longer drives. The good news is that upgrading your GLA to enjoy the convenience of wireless charging is more achievable than you might think. Mercedes-Benz offers this feature on newer models, but if yours doesn’t have it, or if the factory option is missing, there are smart ways to add it. This guide is designed for every GLA-Class owner, from those who are new to car tech to seasoned DIYers. We’ll break down exactly what you need to know to power up your ride, the hassle-free way.
Why Go Wireless in Your GLA-Class?
In today’s connected world, keeping our smartphones charged simply isn’t optional. It’s how we navigate, stay in touch, and even manage our lives. The Mercedes-Benz GLA-Class, known for its blend of luxury and practicality, can be even better with integrated wireless charging. Imagine getting into your car and just placing your phone down to charge – no more searching for the right cable, no more messy cords cluttering your console.
Wireless charging offers a seamless experience. It means your phone is always topped up and ready to go when you arrive at your destination. Plus, it adds a touch of modern convenience that complements the premium feel of your GLA. We’ll explore how this upgrade works and the benefits it brings.
Understanding Wireless Charging Technology
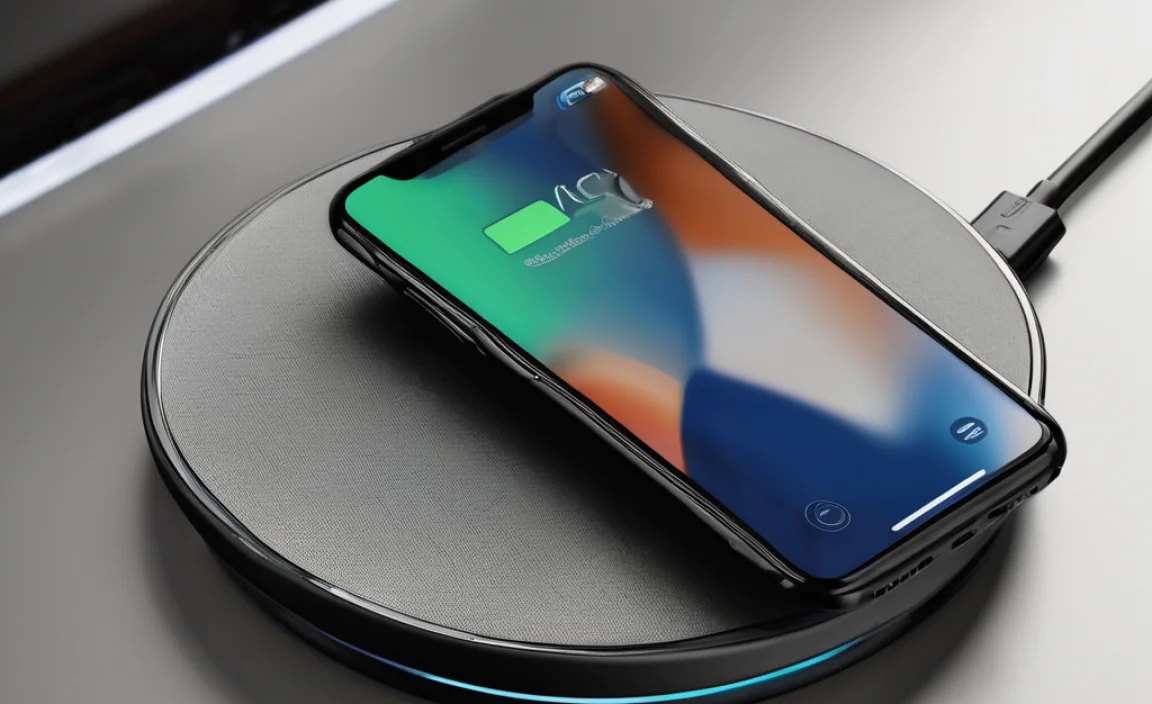
Wireless charging, often called inductive charging, works through electromagnetic fields. When you place a compatible smartphone on a charging pad, the pad transmits power wirelessly through a coil in the pad and another coil in your phone. It’s a neat bit of technology that has become increasingly common in our daily lives, from home chargers to public charging spots.
For your GLA-Class, this means a dedicated spot in the cabin – usually within the center console or dashboard – where your phone can rest and charge. The charging standards are primarily governed by the Wireless Power Consortium (WPC), which developed the widely adopted Qi standard. Most modern smartphones, including iPhones and Android devices, support Qi wireless charging.
Pros of GLA-Class Wireless Charging
Convenience: Simply place your phone on the pad. No plugging and unplugging cables.
Tidy Interior: Reduces cable clutter for a cleaner look in your car.
Always Ready: Keeps your phone charged, ensuring you have power for navigation or emergencies.
Modern Feel: Adds a sophisticated, up-to-date feature to your vehicle.
Wear Reduction: Prevents wear and tear on your phone’s charging port.
Cons of GLA-Class Wireless Charging
Slower Charging: Typically slower than wired fast charging.
Phone Compatibility: Requires a Qi-compatible phone. Adapters can be used, but they add bulk.
Placement Sensitivity: Phone must be correctly positioned on the pad for optimal charging.
Heat Generation: Can generate more heat than wired charging, potentially affecting battery longevity over very long periods (though modern systems manage this well).
Retrofit Costs: Adding it to a non-equipped car can involve parts and labor costs.
Is Your GLA-Class Equipped for Wireless Charging?
The first step is to determine if your GLA-Class already has wireless charging capabilities from the factory. Mercedes-Benz has been introducing this feature in various model years and trim levels.
Methods to Check for Existing Wireless Charging:
1. Owner’s Manual: The most straightforward way is to consult your GLA-Class owner’s manual. Look for sections on “Mobile Devices,” “Charging,” or “Infotainment.”
2. Center Console Inspection: Open up your center console armrest. Many factory-installed wireless charging pads are located here. You’ll typically see a designated non-slip area, often with a subtle icon indicating wireless charging. Sometimes, a USB port will be nearby, but the charging pad itself won’t have a port.
3. Infotainment System: Navigate through your car’s infotainment system menus. Sometimes, there are settings related to phone connectivity or charging that might indicate the presence of wireless charging.
4. VIN Decoder: You can use an online VIN (Vehicle Identification Number) decoder. Input your GLA’s VIN, and it will list the original factory options and packages installed on your vehicle. Search the results for terms like “wireless charging,” “LTE module,” or specific option codes related to connectivity.
If you find no evidence of a factory wireless charging system, don’t worry! There are excellent aftermarket solutions available.
Retrofitting Wireless Charging: A DIY Approach
For many GLA-Class owners, the desire for wireless charging leads to exploring aftermarket options. These kits aim to integrate seamlessly into your car’s interior, providing a factory-like experience without the hefty dealer price tag.
Choosing the Right Retrofit Kit
When looking for a retrofit kit, consider these factors:
Compatibility: Ensure the kit is specifically designed for your GLA-Class year and model. Some kits are universal, while others are model-specific for a perfect fit.
Qi Standard: Verify it supports the Qi wireless charging standard.
Charging Speed: Higher wattage (e.g., 10W or 15W) will charge your phone faster.
Integration: Look for kits designed to fit into existing storage compartments or replace specific trim pieces. Some are designed to fit into the center console’s storage bin or the ashtray area.
Power Source: How does the kit get power? Most will tap into an existing 12V socket or a dedicated fuse tap.
Reputation: Opt for kits from reputable brands known for quality and reliability.
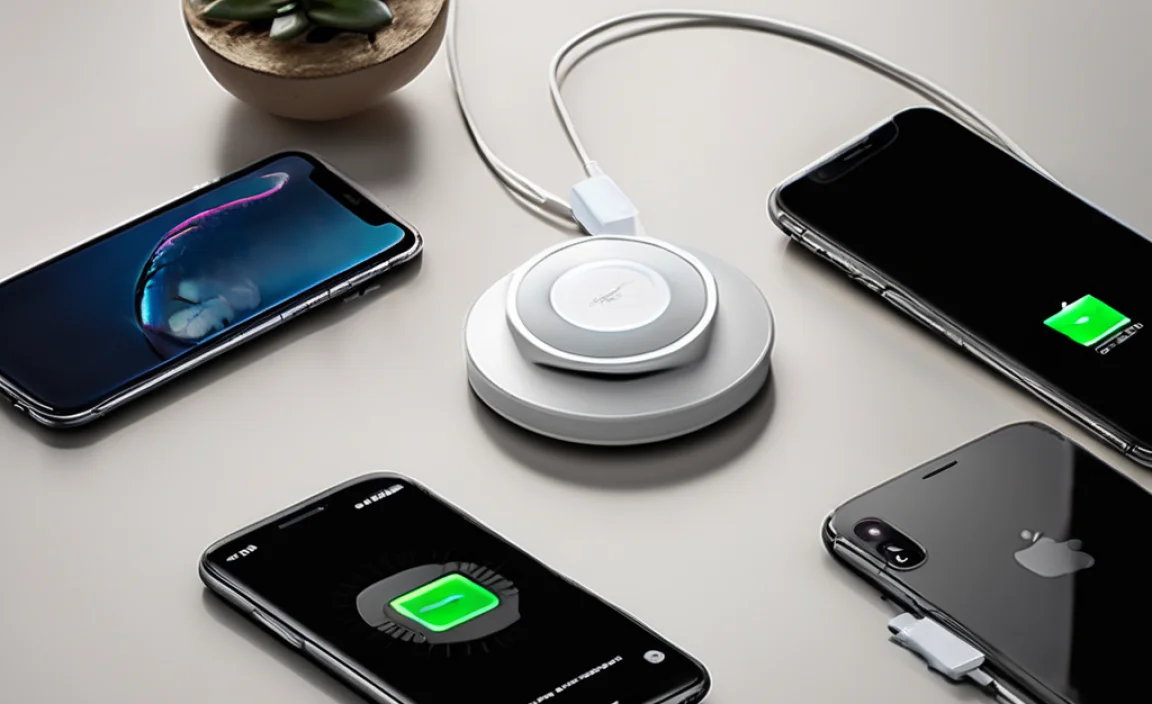
Popular Retrofit Kit Types
Drop-in Pads: Designed to fit into a specific storage area (like the center console bin) and often plug into a 12V socket or USB.
Replacement Trim Pieces: Kits that replace a factory trim piece (e.g., the ashtray or a section of the center console) with one that includes an integrated charging pad. These offer the most seamless look.
Aftermarket Consoles: Some full console replacements or inserts are available that incorporate wireless charging.
Tools You Might Need for Installation
While specific tools vary by kit, here’s a general list of what you might encounter:
Trim Removal Tools: Essential for safely prying apart interior panels without scratching or damaging them. Plastic trim tools are highly recommended.
Screwdrivers: Phillips and flathead screwdrivers in various sizes.
Socket Set or Wrenches: Occasionally needed if any bolts secure panels.
Wire Strippers/Crimpers: If you need to tap into a fuse or wire.
Fuse Tap (Add-a-Circuit): A safe way to draw power from an existing fuse box circuit for aftermarket accessories. You can find these at most auto parts stores.
Electrical Tape or Heat Shrink Tubing: For securing and insulating electrical connections.
Zip Ties: To neatly secure wiring.
Multimeter (Optional but Recommended): To test for voltage and confirm correct wiring before making permanent connections.
Work Gloves: To protect your hands.
Step-by-Step Installation Guide (General Example)
This guide provides a general overview. Always refer to the specific instructions provided with your chosen retrofit kit.
Step 1: Preparation and Safety First
Before you begin, ensure your GLA-Class is parked on a level surface with the parking brake engaged. It’s a good idea to disconnect the negative terminal of your car battery to prevent any accidental short circuits while working with electrical components. Consult your owner’s manual for the exact location of the battery and the correct procedure for disconnecting it.
Step 2: Accessing the Installation Area
Most wireless charging kits are designed to fit into the center console storage area, the ashtray, or a similar cubby. You will need to remove the surrounding trim panels to access this area and route the wiring.
Common Trim Removal Steps (May vary):
- Start by carefully using your plastic trim removal tools to gently pry around the edges of the gear shifter surround or the center console panels.
- Look for any visible screws holding panels in place. These might be hidden under rubber mats or in small compartments.
- Work slowly and deliberately. Don’t force panels; if they resist, check for missed clips or screws.
- Once loose, gently disconnect any electrical connectors attached to the removed panels (e.g., for power outlets, ambient lighting).
Step 3: Routing the Power Cable
Your wireless charger will need a power source. This usually comes from a fuse tap connected to a suitable 12V circuit in the fuse box, or sometimes directly from a 12V socket if the kit is designed to plug into one.
- Locate the Fuse Box: Your GLA-Class may have fuse boxes in the dashboard (driver’s side footwell or behind a panel) or in the engine bay. Consult your owner’s manual.
- Choose a Circuit: Select a fuse for an accessory that only powers on when the ignition is active (e.g., the 12V socket, radio, or cigarette lighter). This prevents the charger from draining your battery when the car is off.
- Install a Fuse Tap: Insert the fuse tap into the chosen fuse slot, ensuring the original fuse is placed in the first slot of the tap and the new accessory fuse (often included with the tap or kit) is in the second slot. This provides fused power to your new charger.
- Connect Accessory Wire: Connect the positive (+) wire from your wireless charger kit to the fuse tap’s output wire.
- Grounding: Connect the negative (-) wire from the charger to a solid metal ground point on the car’s chassis. Look for existing screw points screwed directly into the metal frame, and ensure the connection is clean and secure.
- Route Safely: Carefully route the power cable from the fuse box area to the installation location in the center console. Use existing wire looms or zip ties to secure the cable, ensuring it won’t interfere with any moving parts (like the gear shifter) or get pinched.
Important Note on Fuse Taps: Using a fuse tap correctly is crucial for safety. Ensure you use the correct amperage fuse for your new accessory and always plug it into a circuit that turns off with the ignition. Learn more about safely adding accessories at resources like NHTSA’s guide on aftermarket parts.
Step 4: Installing the Wireless Charging Pad
With the power wired and routed, it’s time to install the charging pad itself.
- If your kit replaces a trim piece, carefully remove the old piece and install the new one with the integrated charger.
- If it’s a drop-in pad, place it in the designated storage compartment. Some pads have adhesive backing for a secure fit.
- Ensure the charging pad has a clear path to the power cable you routed.
- Connect the power cable from the car to the charging pad unit.
Step 5: Testing the System
Before reassembling all the trim panels, it’s vital to test your new wireless charger.
- Reconnect the negative battery terminal (if you disconnected it).
- Turn the car’s ignition to the “ON” or “Accessory” position (do not start the engine unless the kit requires it for testing).
- Place a Qi-compatible smartphone onto the charging pad.
- Check if your phone indicates it’s charging. Most phones will show a charging icon. The charging pad itself might have an LED indicator light.
- If it’s not charging, double-check all your wiring connections, ensure the fuse tap is correctly installed, and verify that the chosen circuit has power when the ignition is on.
Step 6: Reassembling Interior Panels
Once you’ve confirmed the wireless charger is working correctly, you can reassemble the interior trim panels you removed.
- Carefully reconnect any electrical connectors you unplugged.
- Align the panels and gently press them into place until they click securely.
- Reinstall any screws you removed.
- Ensure all panels sit flush and there are no gaps.
Step 7: Final Test and Enjoyment
Turn the ignition off and on again to ensure everything powers up correctly. Place your phone on the pad and enjoy the convenience of wireless charging in your GLA-Class!
Comparing Factory vs. Aftermarket Solutions
Choosing between a factory option and an aftermarket retrofit involves weighing convenience, cost, and integration.
| Feature | Factory/OEM Wireless Charging | Aftermarket Retrofit Kit |
|---|---|---|
| Cost | Higher if ordered from factory; expensive to retrofit through dealership parts. | Generally much more affordable. |
| Integration | Seamless, designed specifically for the vehicle’s interior. Button placement, lighting, and finish perfectly match. | Varies by kit; some are very well-integrated, appearing almost factory. Others may be more visible or require minor modification. |
| Installation | Comes pre-installed. Retrofitting by a dealer is complex and costly. | Can be a DIY project (saving labor costs) or installed by a specialized shop. Instructions may vary in clarity. |
| Compatibility | Guaranteed to work with your specific GLA-Class model and trim. | Requires careful selection; must match GLA-Class year/model. Ensure Qi compatibility. |
| Performance | Often optimized for thermal management and charging speed. | Charging speeds and thermal performance can vary widely by kit manufacturer. |
| Warranty | Covered under the vehicle’s warranty. | Typically comes with a manufacturer’s warranty for the product itself. |
For those whose GLA-Class didn’t come with wireless charging, an aftermarket kit is often the most practical and budget-friendly solution. With a bit of care and the right tools, you can achieve a satisfying upgrade.
Troubleshooting Common Issues
Even with a successful installation, you might encounter minor hiccups. Here are some common problems and their solutions:
My Phone Isn’t Charging
Check Placement: Ensure your phone is centered on the pad. Even a slight misalignment can prevent charging. Try repositioning your phone.
Check Phone Case: Thick or metal-containing phone cases can interfere with wireless charging. Try removing the case.
Check Power Connection: Verify the charger is receiving power. Check the fuse tap connection and ensure the ignition is on.
Phone Compatibility: Confirm your phone supports Qi wireless charging.
Overheating: If your phone or the pad feels excessively hot, disconnect it. Allow both to cool down. Continuous overheating can damage the battery.
Charging is Slow
Charger Wattage: Lower wattage chargers will always charge slower. Kits designed for higher wattage (10W, 15W) perform better.
Phone Limits: Some phones have built-in limits for wireless charging speeds.
Car Position: If using a USB adapter to power a wireless pad, ensure the USB port itself provides sufficient amperage. Some car USB ports are only for data or low power.
LED Indicators Not Working
Power Issue: The LED might not be lit if the unit isn’t receiving power. Double-check wiring.
Faulty Unit: In rare cases, the LED itself or the charging unit might be defective.
Interference with Other Devices
While rare, some electronic devices can experience minor interference. If you notice issues, ensure all connections are secure and that the wireless charging pad is not directly adjacent to sensitive components. For more in-depth automotive electronic system information, refer to resources like the SAE J551 standard on electromagnetic compatibility.
Maintaining Your GLA-Class’s Wireless Charging System
Keeping your new wireless charging system in top shape is simple.
Keep it Clean: Regularly wipe down the charging pad surface with a soft, dry cloth to remove dust and debris. Avoid harsh chemicals.
Manage Heat: In very hot weather, avoid leaving your phone on the charging pad for extended periods if the car is turned off and direct sunlight is hitting the console. Heat can impact battery health.
* Secure Wiring: Periodically check that any newly routed wires are still securely fastened and not coming loose.
Conclusion
Adding wireless charging to your Mercedes-Benz GLA-Class is a fantastic way to modernize your driving experience and eliminate the persistent annoyance of tangled cables. Whether your GLA came with this