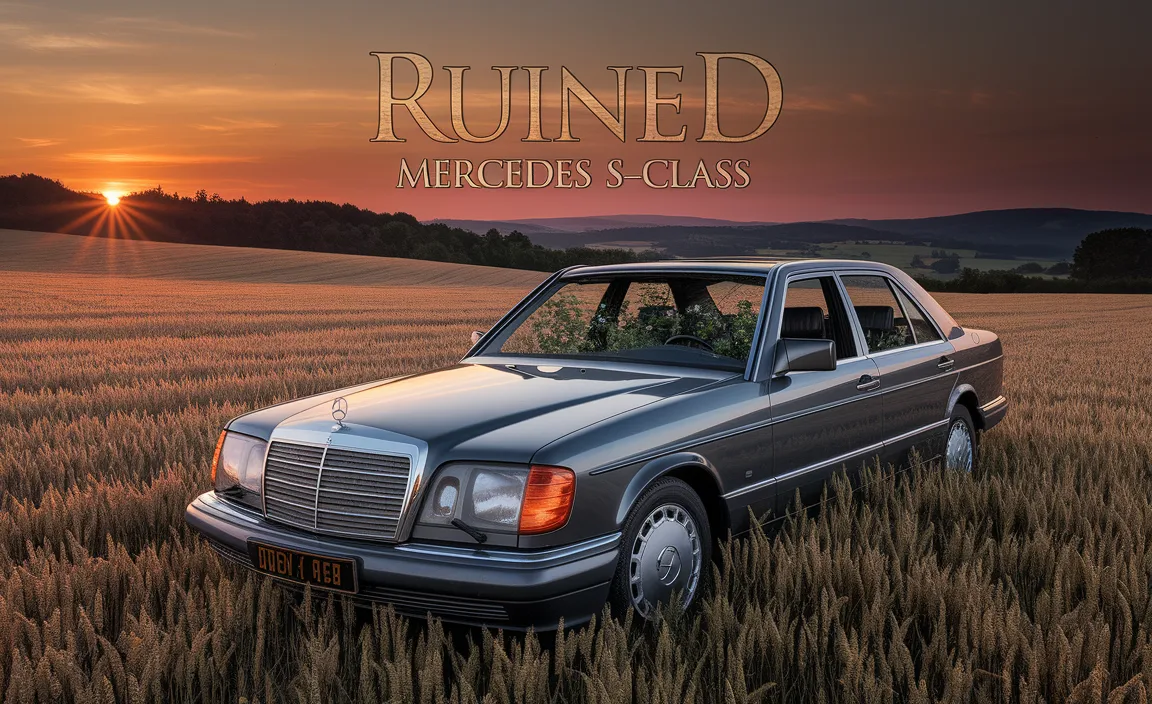
Restoring a ruined Mercedes S-Class is a rewarding project that transforms a neglected luxury car into a showpiece. It involves careful assessment, thorough cleaning, mechanical repairs, interior refurbishment, and expert paintwork. With patience and the right approach, you can bring a forgotten S-Class back to its former glory, proving that even the most distressed vehicles can be stunningly revived.
It’s tough to see a once-proud Mercedes-Benz S-Class in a state of disrepair. Time, neglect, or unfortunate circumstances can leave these automotive masterpieces looking unloved and forgotten. But don’t despair! Even a seemingly “ruined” S-Class has incredible potential waiting to be unleashed. This guide is for anyone who looks at a tired, old S-Class and sees not junk, but a diamond in the rough. We’ll walk through the exciting journey of a stunning restoration, making the process clear and achievable, even if you’re new to car projects.
This isn’t just about fixing a car; it’s about preserving automotive history and enjoying the satisfaction of bringing a legend back to life. We’ll cover everything from the initial assessment of a neglected S-Class to the final polish that makes it shine. Get ready to discover how a “ruined” Mercedes-Benz S-Class can become a truly stunning restoration.
The Allure of S-Class Restoration
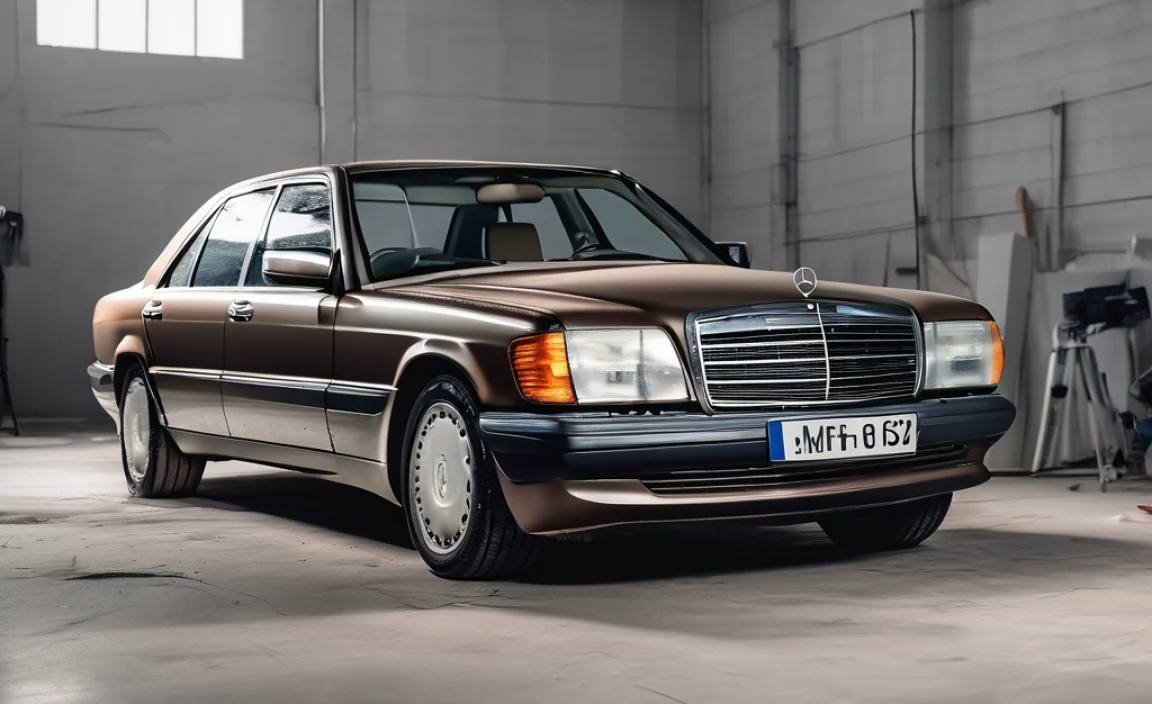
The Mercedes-Benz S-Class has always been the benchmark for luxury, innovation, and engineering excellence. For decades, it has defined the pinnacle of automotive design, packed with cutting-edge technology and unparalleled comfort. When an S-Class falls into ruin, it’s not just a car losing its shine; it’s a piece of automotive heritage that’s at risk. These vehicles, even those showing significant wear, often possess a solid foundation of quality craftsmanship that can be revived.

The idea of a “ruined” Mercedes S-Class might sound daunting. Perhaps it’s sat for years, succumbed to rust, or its once-luxurious interior is now tattered. However, these challenges are precisely what make a restoration so rewarding. The journey of bringing a severely neglected S-Class back to its former glory is a testament to dedication and a passion for automotive excellence. It’s a deeply satisfying project that can result in a vehicle that turns heads and boasts exceptional value.
Phase 1: The Critical Assessment
Before diving in, a thorough inspection is paramount. This isn’t just a quick look-over; it’s a deep dive into the car’s condition. You need to understand the full scope of work required. This assessment helps in budgeting, planning, and setting realistic expectations.
Structural Integrity and Rust: The Foundation of Your Project
Rust is the arch-nemesis of any classic car restoration, and the S-Class is no exception. Thoroughly inspect the chassis, floor pans, wheel arches, door bottoms, and around the windows. Surface rust might be manageable, but significant compromising rust requires professional attention or skilled fabrication.
- Frame Rails: Check for any signs of perforation or weakness.
- Floor Pans: Look for rust holes or bubbling paint, especially in the footwells and under the seats.
- Wheel Wells: These are prime rust spots.
- Doors and Trunk Lid: Inspect the lower edges and corners.
- Engine Bay: Pay attention to the firewall and strut towers.
For a deeper understanding of rust prevention and repair techniques, resources like Popular Mechanics’ guide on fixing car rust offer valuable insights.
Mechanical Condition: The Heartbeat of the Beast
A “ruined” S-Class likely needs significant mechanical work. Start from the engine and work your way through the drivetrain.
Engine and Drivetrain
- Engine: Compression test, check for oil leaks, coolant leaks, worn belts, and hoses. Listen for any unusual noises.
- Transmission: Check fluid level and condition. Test shifting (if the car runs).
- Suspension: Inspect shocks, struts, control arms, and bushings for wear and leaks. S-Class models often feature complex hydraulic or air suspension systems that require specialized knowledge.
- Brakes: Examine rotors, pads, lines, and fluid. Any leaks or seized components need immediate attention.
- Exhaust System: Check for rust, leaks, or damage.
Electrical System
Mercedes-Benz vehicles are known for their sophisticated electrical systems, which can become problematic with age and corrosion.
- Test all lights, wipers, windows, locks, original radio, A/C, and dashboard indicators.
- Inspect the wiring harness for signs of fraying, corrosion, or rodent damage.
- Check battery condition and terminal health.
Interior and Upholstery: The Cabin of Comfort
The interior is where the S-Class luxury truly shines, but also where neglect can be most apparent.
- Seats: Inspect leather or fabric for tears, fading, and sagging. Check the foam underneath.
- Headliner: Look for sagging or water stains.
- Dashboard: Check for cracks, especially on the vinyl or leather surfaces. Test all gauges and controls.
- Carpets: Inspect for wear, stains, and dampness (a sign of leaks). Remove carpets to check the floor pans underneath.
- Wood Trim: Assess the condition of any wood veneers for cracking, fading, or delamination.
Paint and Bodywork: The First Impression
The exterior is the most visible aspect of the car’s current state.
- Paint: Assess for scratches, dents, fading, peeling clear coat, and rust bubbles.
- Chrome: Check for pitting, corrosion, or missing pieces.
- Glass: Inspect for chips, cracks, or hazing.
Phase 2: Developing Your Restoration Plan
Once you have a clear understanding of the car’s condition, it’s time to create a plan. This involves prioritizing tasks and setting a budget.
Prioritization: What Comes First?
It’s rarely feasible to do everything at once. Here’s a suggested order:
- Safety First: Address any structural rust, brake issues, or critical safety components. You want to be able to safely move and work on the car.
- Mechanical Heart: Get the engine running reliably and ensure the drivetrain is sound. This is crucial for testing other systems.
- Body and Paint: Address rust repair and prepare the body for paint. This is often a time-consuming and expensive part.
- Interior: Refurbish or replace upholstery, carpets, and trim.
- Finishing Touches: Details like chrome, badging, and final detailing.
Budgeting: The Reality Check
Restoring a luxury car like an S-Class can be expensive. Research the cost of parts, specialized tools, and potential outsourced labor (like paint or engine rebuilding). It’s wise to add a contingency of 20-30% for unexpected issues.
Consider the potential value of the restored car. Is it a rare model or a common one? This will influence how much you invest. Resources for parts can include specialist Mercedes-Benz wreckers, online marketplaces, and dedicated classic Mercedes parts suppliers.
Phase 3: The Restoration Journey – Step-by-Step
Now, let’s get our hands dirty. This phase breaks down the actual work into manageable steps.
Step 1: Dismantling and Cleaning
Carefully dismantle the vehicle, labeling every part and taking photos. This is invaluable during reassembly. Once parts are removed, meticulous cleaning is essential.
Use appropriate degreasers, rust removers, and cleaning agents. A clean workspace is a safe workspace. For heavily corroded parts, consider media blasting (sandblasting, soda blasting) for efficient rust and paint removal. Learn more about media blasting options at The Eastwood Company’s guide.
Step 2: Rust Repair and Bodywork
This is where the car truly starts to transform. Small rust spots can be treated with rust converters and filled. Larger areas, especially compromised metal, will require cutting out the rusted section and welding in new, fabricated, or replacement metal.
Proper metal preparation, including treating bare metal with etching primers and epoxy sealers, is crucial to prevent future rust. Small dents can be repaired with body filler, while larger ones may require panel beating.
Step 3: Mechanical Overhaul
This focuses on getting the S-Class running and driving beautifully.
Engine Rebuild or Tune-Up
Depending on condition, this could range from a simple tune-up (spark plugs, fluids, filters) to a full engine rebuild. If the engine is seized or badly damaged, a rebuild or replacement might be necessary.
Transmission and Drivetrain Repairs
Service the transmission, replace seals and gaskets as needed. Check and refurbish the driveshaft and differential.
Suspension and Brakes
Replace worn bushings, ball joints, tie rods, shocks, and struts. For hydraulic or air suspension, consult a Mercedes-Benz specialist. Overhaul or replace brake calipers, rotors, and lines. Flush the brake system and refill with fresh fluid.
Fuel System Restoration
Clean or replace the fuel tank, fuel lines, and fuel pump. Rebuild or replace fuel injectors or carburetor (depending on model).
Step 4: Electrical System Restoration
Work through the wiring harness systematically. Repair any damaged sections. Clean electrical connectors. Test and, if necessary, replace components like the alternator, starter, battery, and fuses. Modernizing the head unit with Bluetooth capability while retaining the classic look can also be a popular upgrade.
Step 5: Interior Refurbishment
This is about bringing back the luxurious feel of the cabin.
- Upholstery: Clean existing materials, repair small tears, or fully re-upholster seats and door panels.
- Carpets: Replace old, worn carpets with new, custom-fitted ones.
- Headliner: Repair or replace the headliner.
- Dashboard and Trim: Repair cracked dashboards, refinish wood trim, or replace worn plastic components.
- Sound Deadening: Adding new sound deadening material during this phase can dramatically improve ride comfort and reduce road noise.
Step 6: Paint and Finishing
Once the bodywork is perfected and rust is eliminated, the car is ready for paint. This is often best left to a professional auto body shop for a flawless finish.
- Priming: Multiple coats of primer to ensure a smooth, uniform surface.
- Sanding: Careful wet-sanding between coats.
- Base Coat & Clear Coat: Application of color and a protective clear coat for gloss and durability.
- Polishing and Buffing: The final stage to bring out the deep shine.
For paint types and considerations, resources on automotive refinishing like Axalta’s Automotive Paint 101 provide excellent background.
Step 7: Reassembly and Detailing
This is the reverse of dismantling. Take your time, use your labels and photos. Install interior panels, exterior trim, lights, glass, and all the other components.
Final detailing includes meticulous cleaning of the engine bay, interior, and exterior. Wax the paintwork, clean all glass, and dress exterior plastics and tires. This is where the car truly comes alive!
Restoration Considerations: Specific S-Class Models
Different generations of the S-Class present unique restoration challenges and rewards. Here’s a brief look:
| S-Class Generation (Chassis Code) | Common Restoration Issues | Key Strengths for Restoration |
|---|---|---|
| W108/W109 (1965-1972) | Rust, aging rubber seals, electrical issues, carburetor problems (on some engines) | Timeless styling, robust mechanicals, relatively simple electronics |
| W116 (1972-1980) | Rust (especially wheel arches, door bottoms), fuel injection complexity, air conditioning systems | Introduction of many luxury features enjoyed by later models, significant presence |
| W126 (1979-1991) | Rust, wiring harness degradation (especially insulation), crumbling dash plastics, climate control issues | Iconic design, excellent build quality, good availability of parts, advanced safety features for its era |
| W140 (1991-1998) | Complex electronics (“over-engineered”), rust in less obvious places (e.g., subframes), hydraulic systems, interior wear | “The last of the best” feel, dual-pane glass, advanced technology |
| W220 (1998-2005) | Air suspension (ABC system) issues, rust on subframes and rear quarters, complex CAN bus electronics, transmission problems | Sleeker modern design, significant technological advancements |
No matter the generation, understanding its specific weak points will save you time and money. Specialist forums and owner clubs are invaluable resources for model-specific advice and parts sourcing.
Tools of the Trade for S-Class Restoration
A successful restoration requires a good set of tools. Here are some essentials:
- Basic Hand Tools: Socket sets (metric), wrenches, screwdrivers, pliers, hammers.
- Power Tools: Drill, impact wrench, angle grinder, orbital sander.
- Specialty Tools:
- Engine compression tester
- Brake caliper piston tool
- Torque wrench (essential for Mercedes)
- Wire stripper/crimper
- Multimeter for electrical diagnostics
- Jack stands and a robust car jack
- Rust treatment supplies (converters, inhibitors)
- Body filler and application tools
- Welding equipment (if you have metal fabrication skills)
- Trim removal tools
- Safety Gear: Safety glasses, gloves, hearing protection, dust masks/respirator.
Always invest in quality tools; they make the job easier, safer, and yield better results. For specialized Mercedes-Benz tools, consider consulting resources like MBTools.com.
FAQ: Your S-Class Restoration Questions Answered
1: How much does it typically cost to restore a ruined Mercedes S-Class?
Costs vary wildly depending on the S-Class model, its initial condition, and whether you do the work yourself. A cosmetic restoration might cost a few thousand dollars, while a full, show-quality restoration on a severely neglected car could easily run into tens of thousands of dollars for parts and professional labor.
2: Is it worth restoring an old Mercedes S-Class?
For many enthusiasts, the value isn’t just monetary. It’s about the passion, the learning experience, and the satisfaction of preserving a piece of automotive history. Some rare or well-restored S-Class models also hold or increase in value over time.
3: Where can I find parts for a rare S-Class model?
Start with specialized Mercedes-Benz salvage yards, online forums dedicated to your specific S-Class generation, and classic Mercedes parts suppliers. Owner clubs are also excellent resources for finding rare parts or leads.
4: Can a beginner restore a “ruined” Mercedes S-Class?
While challenging, a beginner can tackle parts of an S-Class restoration with careful planning, patience, and a willingness to learn. It’s advisable to start with simpler tasks and consider outsourcing more complex jobs like engine rebuilding or professional paintwork.
4.Get updates on the latest posts and more from TheCarGuider – JOURNEY straight to your inbox.
We use your personal data for interest-based advertising, as outlined in our Privacy Notice.
5: What are the most common problems on W126 S-Class models?
The W126 is known for wiring harness insulation degradation, which can lead to electrical gremlins. Rust is also common in the usual spots like wheel arches, door bottoms